Cake Recipe
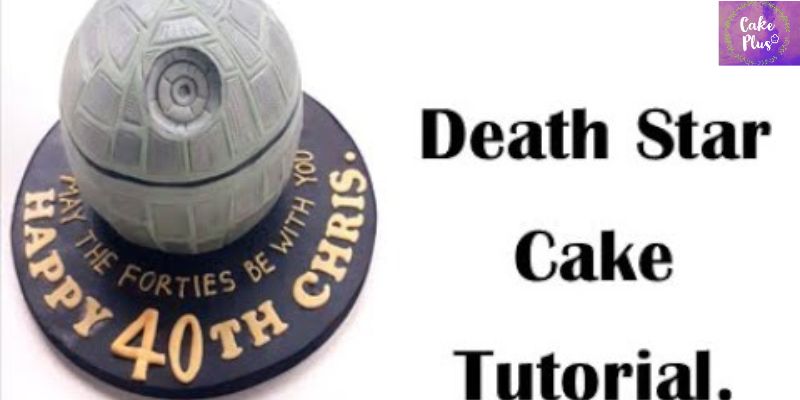
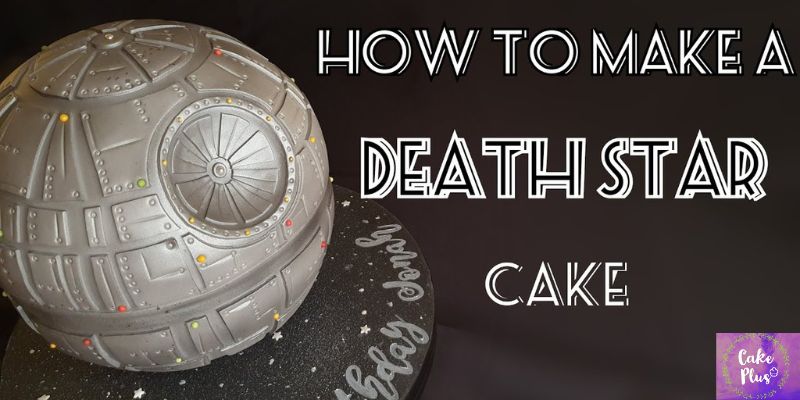
A Galaxy Far, Far Away- How to Make a Stunning Death Star Cake
May
A Death Star cake is a type of cake that is designed to resemble the Death Star, a fictional space station and superweapon from the Star Wars franchise.
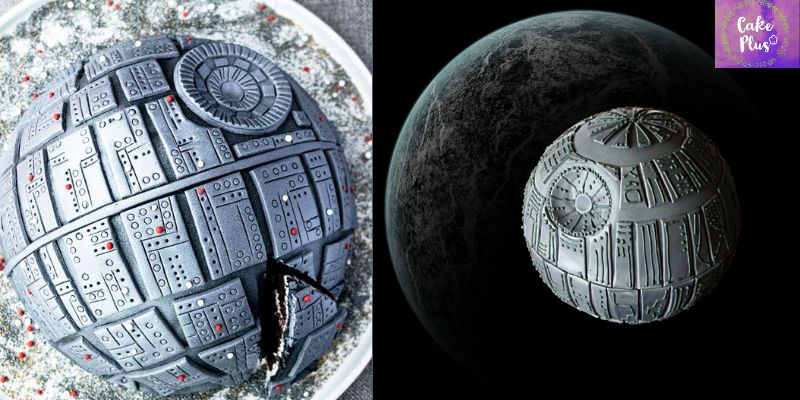
The cake is typically round, with a surface that is modeled to look like the exterior of the Death Star. This can be achieved through the use of fondant or other modeling materials, which can be sculpted and painted to create a realistic texture and appearance.
The Death Star cake can come in many different flavors and sizes, depending on the preferences of the baker and the occasion for which it is being made. Some bakers may also choose to include additional decorations or elements to further enhance the Star Wars theme, such as lightsabers, Jedi characters, or other iconic imagery from the movies.
A step-by-step guide to making a Death Star cake
- 2 boxes of cake mix (vanilla or chocolate)
- 6 cups of frosting (white or gray)
- 1 round cake pan (9 inches)
- 1 serrated knife
- 1 rolling pin
- 1 small paintbrush
- 1 black food coloring gel
- 1 silver food coloring gel
- Step 1: Bake the Cake
- Step 2: Cut the Cakes
- Step 3: Stack the Cakes
- Step 4: Frost the Cake
- Step 5: Make the Details
- Step 6: Create the Trench
- Step 7: Finish the Details
Reminder notes when making death star cake
– You can use homemade or store-bought Marshmallows.
– You can use frosting to fill and cool cakes as well as decorate cakes with fondant.
– Don’t skip the edible silver spray because that adds to the perfect metallic look.
– The cake should be refrigerated when it has cooled. If you refrigerate a warm cake, the icing will melt and form a sticky mess.
– When you have glued all the fondant pieces on the cake, you will see that there will be a lot of powdered sugar residue. To steam the cake, place it one foot away from a steam iron. This will eliminate the buildup and produce a bright, clean result.
– Use powdered sugar or cornstarch to sprinkle over your work area to prevent fondant from sticking to tables, rollers, knives, etc. Fondant is simpler to work with when combined with powdered sugar or cornstarch.
– For attaching fondant decorations to the cake, water is utilized. If you don’t use a paintbrush and a very thin layer of water, the result will be a sticky mess.
To sum up
In conclusion, a Death Star cake is a type of cake that is designed to resemble the Death Star, a fictional space station and superweapon from the Star Wars franchise. The cake can come in many different flavors and sizes, but is typically round and features a surface that is modeled to look like the exterior of the Death Star. A Death Star cake is a creative and unique way to celebrate a Star Wars-themed event and it is sure to impress any fan with its attention to detail and creativity.