
Cake Recipe
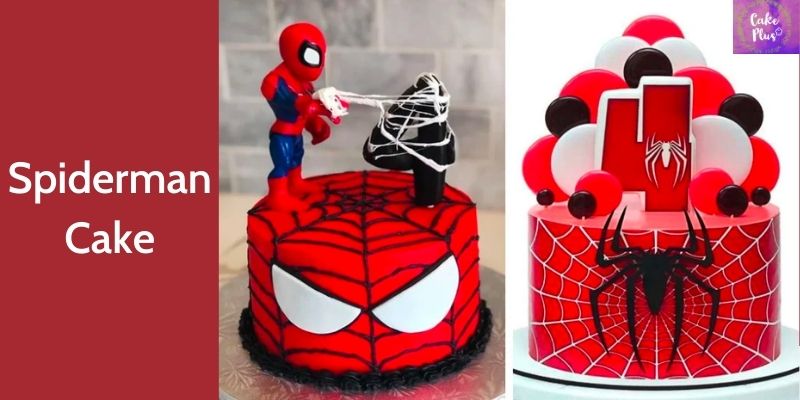
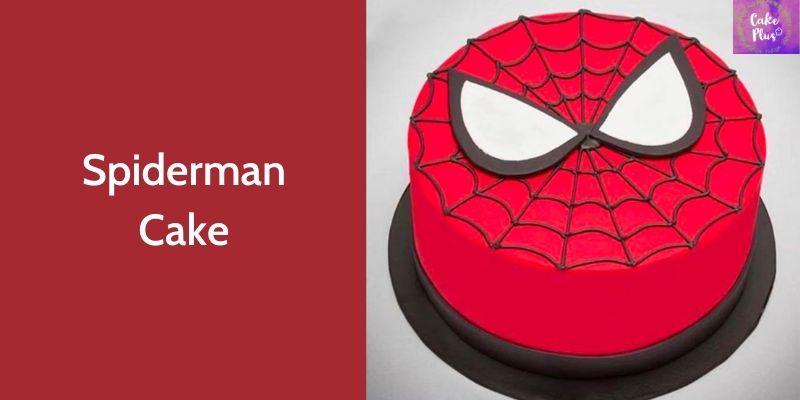
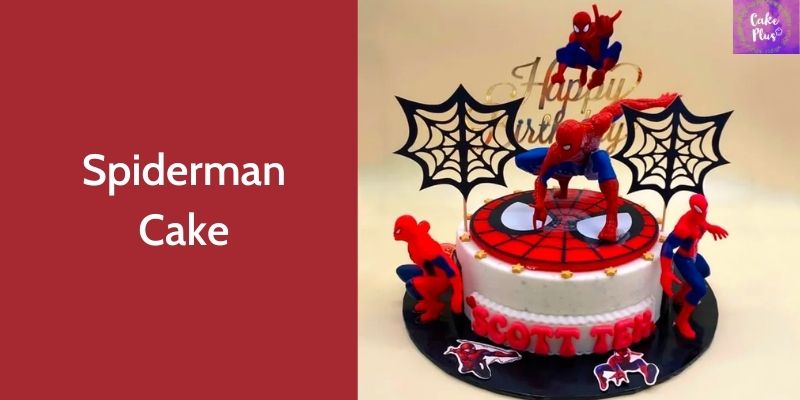
8 Simple Steps For Making Spiderman Cake: Best Guide
Jun
I am a huge Spider-Man fan. He was one of my favorite superheroes when I was younger, mostly because I like rock climbing. Your family and friends will be impressed by this Spiderman cake. For birthday celebrations, superhero-themed parties, or a “just because” cake, a Spiderman Cake is ideal. Additionally, it’s a terrific cake to learn how to decorate with fondant. Have you never worked with fondant much? Not to worry! It’s very simple to decorate this cake. You can accomplish anything if I can. Let’s get going with Cakepluss.com!
Ingredients and Equipment for making Spiderman Cake
- 1 cake mix (of any flavor; alternatively, prepare it from scratch using the ingredients listed below)
- (Any flavor) Frosting
- 24 oz of red fondant, 4 oz. of black fondant
- White Fondant, 4 ounces
- Water
Tools/Items:
- Ten-inch cake pan
- Twelve-inch cake board
- Aloe vera foil
- Spiderman Face Printout
- Cake or a rolling pin a fondant roller (Optional) Smoother
- Spatula
- Scissors
- Toothpick Knife
- Light Paintbrush
Instructions for making Spiderman Cake in 8 Steps:
- Step 1: Bake Spiderman Cake
The cake must first be baked. I only used a standard chocolate cake mix. Here, you can either use a cake mix from the store or your own preferred cake recipe. My cake was made in a circular 10 inch cake pan. Then allow your cake to finish cooling. Place it on a cake board after removing it from the pan. I lined a 12-inch cake board with aluminum foil before using it.
- Step 2: Shape and Trim the Spiderman Cake
Our cake now has to be trimmed and shaped. I start by trimming the top somewhat. I then set a spiderman template on top of the cake, which I cut out with a knife, using a picture I obtained online. After that, I gradually cut the sides to achieve the desired facial shape. It’s easier if you cut a little bit at a time, but you can always take more off. But if that does occur, you may simply patch it up with frosting, a piece of leftover cake, or fondant.
- Step 3: Frost the cake
Completely frost the cake now. I’m icing with chocolate buttercream. You can choose whatever icing you want to use.
- Step 4: Place fondant on it and trim it
We must now spread the crimson fondant. First, remove the fondant from its packaging and gently knead it for 2 to 4 minutes, or until it becomes extremely soft. Then, spread out the fondant to a diameter a few inches larger than the cake and to a thickness of about 1/8 of an inch using a rolling pin or fondant rolling pin. Roll it softly back onto the rolling pin and then over the Spiderman Cake once more. After that, fit it on the Spiderman Cake with your hands. If you’d like, you can use a fondant smoother at this point. The excess fondant at the base of the face should then be cut away using a knife.
- Step 5: Cut out the eyes
The eyes, both the black and white portion and the entire eye, are then cut out using our pattern. Once the black fondant is rolled out and well worked, cut around the newly created eye shape with a knife. You ought to have two black eyepieces in the end.

- Step 6: Remove the White of the Eye
By removing it from the black, we will now construct a template for the white portion of the eye. After positioning the eye piece on a roll of white fondant that has been worked, carve a circle around it using a knife. Placing the white piece on top of the black piece will follow. To keep it in place, use some water underneath as adhesive.
- Step 7. Focus your eyes on your face.
Now, align it on the Spiderman Cake using our template so that we have a reference point for where to place our eyes. The eyes are then adhered to the Spiderman Cake using some water. Everything is coming together well!
- Step 8: Add the Webbing
The fun and laborious part is now coming! For the webbing, we need to roll out tiny black fondant pieces that resemble strings, then affix them to the Spiderman Cake. To keep it in place, we’ll need a little water. It is a good idea to draw your lines with a toothpick first.
I begin by drawing straight lines down the center of my face. the sides of the face next. When those are finished, you are prepared to begin the inner webbing components. Using your pattern as a guide, create tiny lines with your toothpick once again. The fondant is then placed and a small amount of water is added with a paintbrush. Your amazing Spiderman cake will be finished at that point. It is a wonderful gift that will definitely dazzle your kids, friends, etc.
Advice on Preparing This Recipe
1. Make the icing smooth.
I use the Viva paper towel method to smooth the cake. Only Viva paper towels will work for this! They are made of an extremely soft material and lack any decoration. The paper towel approach is easy. To eliminate any lumps in the icing, simply lay the paper towel on top of the cake and gently massage it across the surface. The secret is to move extremely quietly. You don’t have to, but you won’t get the same smoothness as I did on your Spider-Man cake if you don’t feel comfortable doing it.
2. Completely cool the cake.
The cakes must be completely cooled before you begin frosting them; else, the frosting will become gummy as you decorate the Spiderman Cake.
The Spiderman Cake will be around for how long?
In typically, fondant cakes survive two to three days. Wrap the cake in plastic wrap and place it in the refrigerator for an hour to set. After that, put it in a sizable freezer bag or an airtight container that can hold it. The dwelling can maintain a constant temperature if it is sufficiently cool. The cake can also be frozen for longer-term preservation, extending its shelf life to several months.