
Cake Recipe
The Best Guide for Making Gymnastics Cake by yourself
May
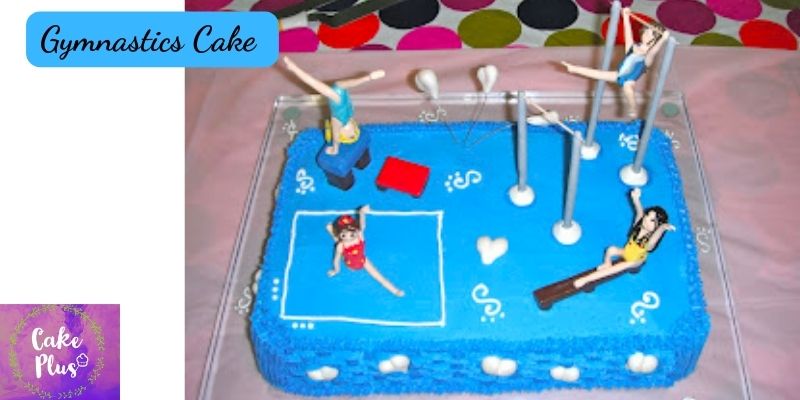
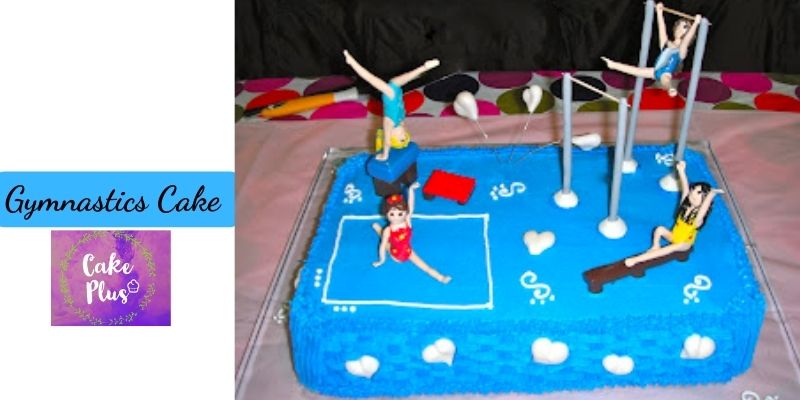
My infant daughter requested a Gymnastics Cake this year. We held the gymnastics celebration, and of course I baked her a cake, because she is really getting into the sport and performing very well. I made a gymnasium with four figurines of gymnasts, one for each of the events she would be participating in later on in the year.
I used polymer clay to create the gymnastics miniatures for two reasons: one, I just learned about it and am in love with it; and second, and most importantly, she can keep them in her room FOREVER! (or at least as long as she desires). So now, cakepluss.com get back to the Gymnastics Cake now. As you will see, building the gym was rather straightforward and easy.
The Best Guide for Making Gymnastics Cake by yourself
Ingredients:
- Two 9″ by 13″ rectangle cakes; if you have a larger pan, you can make one cake.
- One batch of my strawberry pie filling (recipe available here) (Optional but advisable)
- 1 batch of my recipe for buttercream, available here.
- The majority of it should be blue (like the gym floor).
- For detailing, leave roughly 1/2 cup in white.
- White fondant or gum paste hearts are optional.
- Cake board that is large enough to accommodate two cakes in one row
- Tips for decorating cakes: circle #4, a star, and a flat
- Cake bags for decorating
How to make the Gymnastics Cake?
Step 1:
Place the bottom halves of both cakes side by side on a cake board after cutting them in half horizontally. To assist the cakes adhere to the board, you can add a thin layer of buttercream frosting underneath. Spread the strawberry filling evenly over the two halves of the cake by pouring it over both halves and then spreading it with a knife. Add the other halves to the cakes’ tops. Leave all of the above out if you’re not doing the filling.
Step 2:
Overlay the cakes with a thin layer of icing, making sure to cover all the crevices and seams. The cake should now be one rectangular cake, not two. This is known as a crumb coat because it will stop crumbs from getting to the final layer of icing later. For the crumb coat to somewhat firm and seal in all the crumbs, place the cake in the refrigerator for about an hour.
Step 3:
It’s time to use your blue frosting to cover the cake. Put a large dollop of blue frosting on top of the cake and carefully distribute it using a large spatula. the sides in the same way. My cake’s sides have a weave basket design on them, so I didn’t stress too much about making them flawless because the design will conceal them.
The top was my gymnastics floor, though, so I wanted it to be as smooth as possible. A helpful tip is to warm your large, long spatula in hot water, rapidly dry it, and then carefully move it over the cake. The heat will somewhat soften the buttercream, leaving you with a cake that is nice and smooth.
How to decorate the Gymnastics Cake?
Use any pattern you like to decorate the Gymnastics Cake ‘s bottom and the edges. I decorated my borders and edges with tiny stars using a star-shaped pen. Use your flat tip to draw some vertical lines that are an inch apart to create the weaving pattern.
Then create some horizontal lines in alternate rows that cross over the horizontal line, such as row 1 crossing the vertical line, row 2 beginning and ending before the vertical line (not covering it), row 3 crossing the vertical line, and so on. To decorate, add some hearts made of gum paste. Same thing on all sides.
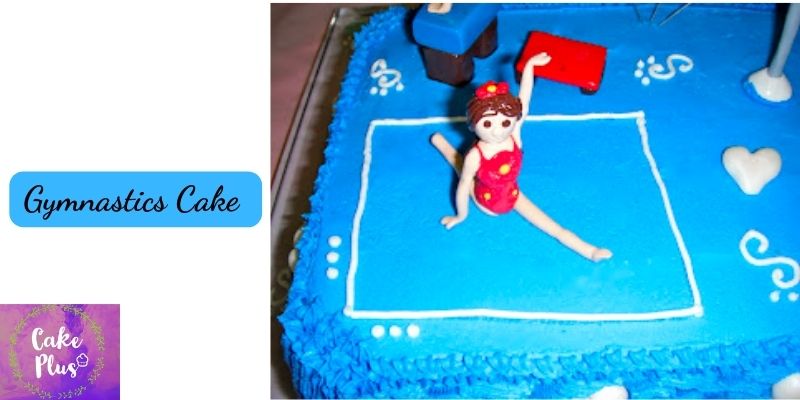
Create a little square with a toothpick for your floor setting by measuring it with the gymnasium floor figurine first. This will ensure that the square is large enough to hold the gymnastic floor figurine. Use a round tip, I used #4, to cover the mark with white buttercream now. You now have a floor!
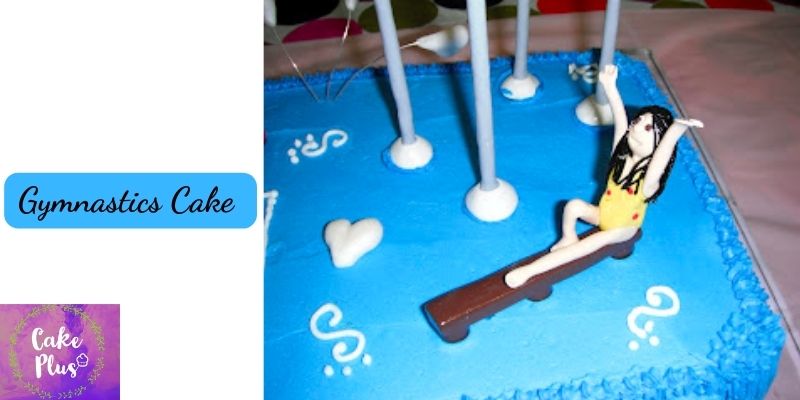
You’ve essentially finished. Place your figurines on the cake after taking them out. Create small swirls here and there for ornamentation or write the birthday girl’s age and name with the white buttercream and #4 tip. It’s entirely up to you. And that’s it!
TIP: If you are making the Gymnastics Cake in one area and having the party in another, I suggest waiting to put the gymnastic miniatures on the cake until the very last minute. You will only need five minutes before the party starts to do this task. You won’t believe how much simpler it is to move and drive around with a cake sans figurines. and if one of them were to fall, you wouldn’t run the risk of damaging the icing.